Automate configuration with AutoConfig
AutoConfig changes Gunbot configuration automatically according to rules you define.
Common uses include:
- increasing a gain target when an indicator such as relative strength index (RSI) reaches a threshold
- scanning exchange tickers for fast-moving markets, adding qualifying pairs, and applying a strategy
- removing low-volatility pairs that no longer have holdings
- maintaining values that several automation jobs use
For exact job fields, filters, expressions, and syntax, see What is AutoConfig.
AutoConfig job editor
The editor splits a job into five sections:
- General sets the name, schedule, job type, and enabled state.
- Pairs limits which exchanges or markets the job can work with.
- Filters decide which candidates qualify.
- Variables store or calculate values the job can reuse.
- Changes defines what Gunbot changes when the job runs.
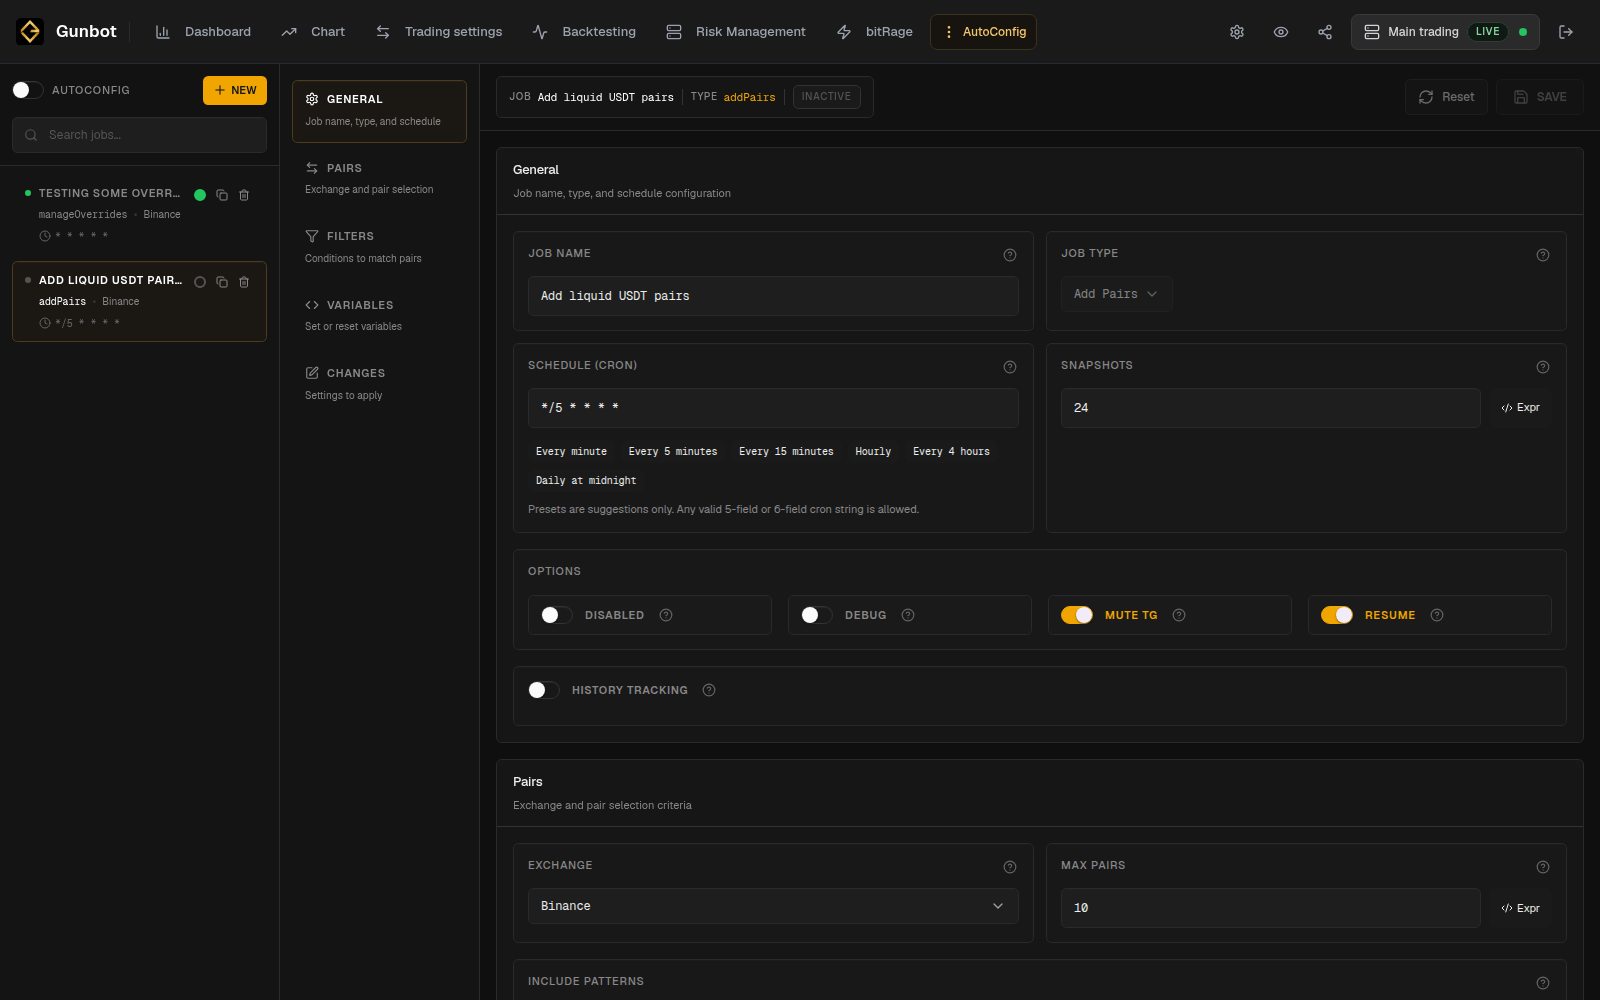
Example: add liquid USDT pairs
A first AutoConfig task can be as small as:
Every few hours, scan Binance spot USDT markets.
Keep only markets that pass my liquidity filter.
Add qualifying markets with my saved StepGrid setup.
That setup uses a schedule, pair selection, a filter, and a change action.
Choose the job type
Create a new job and give it a name that tells you what it does, such as:
Add liquid USDT pairs
Remove quiet pairs with no holdings
Increase gain on high RSI
Then choose the job type that matches the action. AutoConfig job types lists the available actions and their fields.
Set the schedule
In General, choose how often the job runs and whether the job is enabled.
Match the interval to the data or decision behind the job. A market-selection rule based on slower-moving liquidity data usually does not need to run every minute. A setting change driven by a faster indicator may need a shorter interval.
See Create AutoConfig jobs for schedule options.
Limit the pairs the job can change
Use Pairs to select the exchanges, market patterns, or configured pairs the job can act on.
While setting up a new job, limit it to a small set of pairs. Add more pairs after you verify the changes it makes.
Add filters
Filters select which candidates pass the rule.
Add each filter for a specific condition you want to enforce. A market-scanning job might filter by quote volume, volatility, price movement, or another supported value.
Use AutoConfig filter types for the complete list.
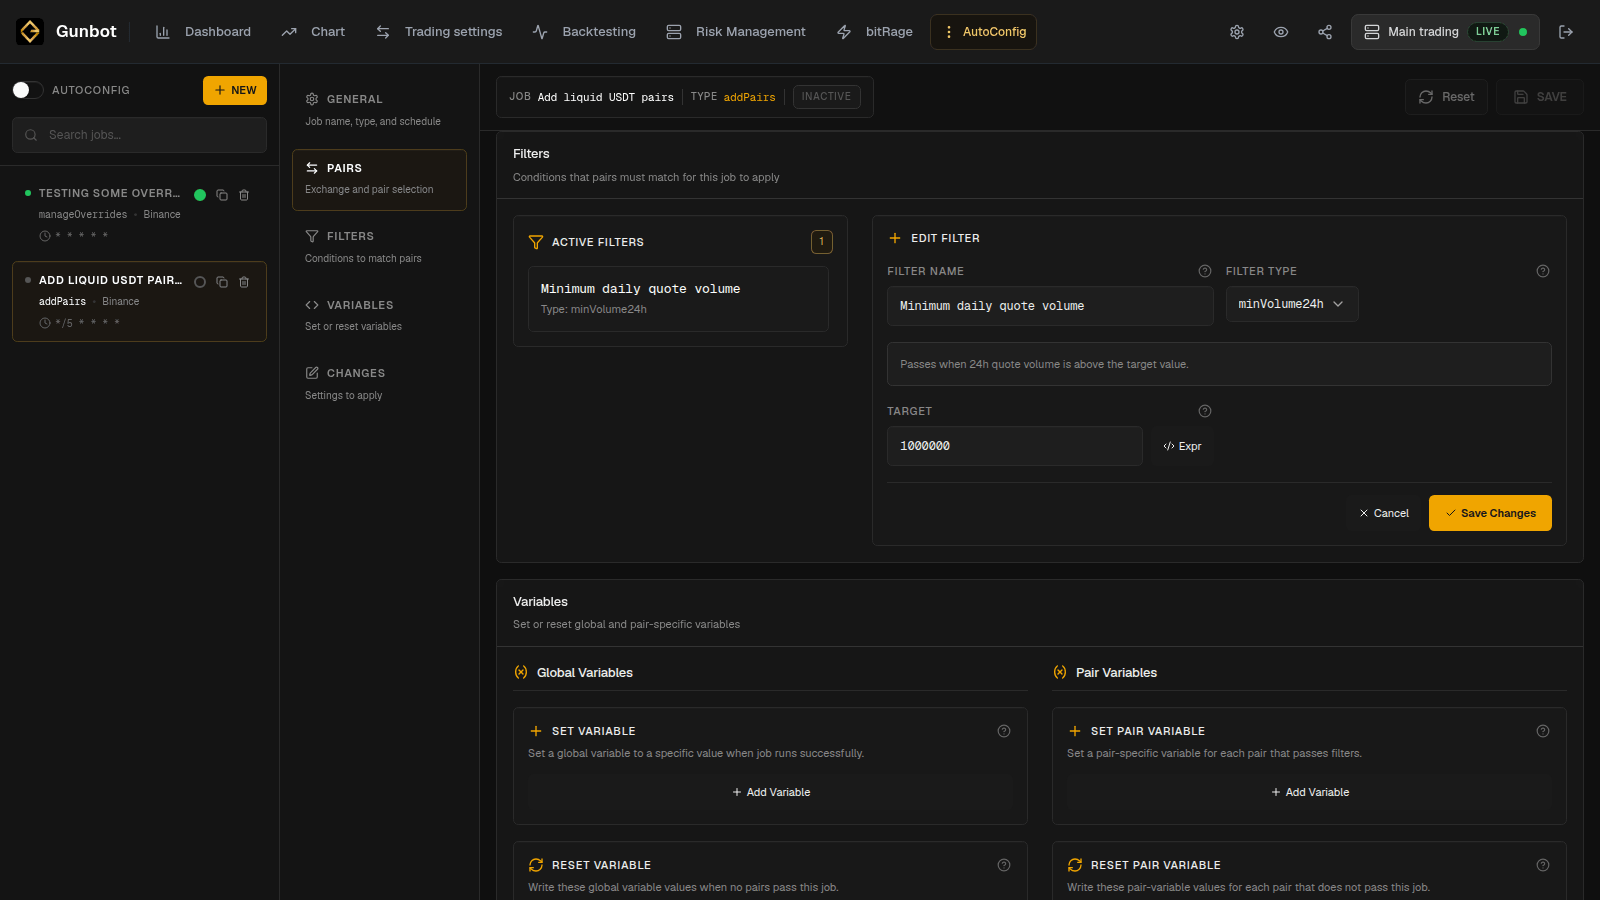
Add variables when the job needs them
Variables let a job store or calculate values for later use. They are optional.
Use them when the job needs shared state, a calculated threshold, or a value that another part of the rule refers to. AutoConfig custom code covers expressions, JavaScript, and more advanced uses.
Review and enable the job
For a new automation:
- Create the job.
- Leave the job disabled while you configure it.
- Review General, Pairs, Filters, Variables, and Changes.
- Save the job.
- Reopen it and confirm the saved values.
- Enable the job.
AutoConfig itself and each individual job have separate enabled states. You can leave AutoConfig running while temporarily disabling one job.
Check the changes AutoConfig makes
After the job runs, use the regular Gunbot Live pages to confirm the result:
- Trading settings for added, removed, or changed pairs
- Chart for the current behavior of an affected pair
- Dashboard for activity and performance across pairs
- Execution History and Debug Logs when you need the automation-specific details
AutoConfig can change pair settings without a manual edit. Give jobs descriptive names so it is easy to recognize which automation may have changed a configuration later.
For larger changes, a short Trading Note can record the job or rule you introduced and when you enabled it.
Copy an existing job
Use Duplicate to reuse most of an existing job, for example when you want the same market-selection rule on another exchange.
Rename the copy and review its inherited schedule, pair selection, filters, variables, and changes before enabling it.
Detailed AutoConfig options
Use these pages for the detailed options: