Gunbot Quickstart Guide for Existing Lifetime Licenses
For existing lifetime license holders
Your existing license remains valid for its entitled features. This guide covers your current installation. For the Unlimited workspace, use the Gunbot Unlimited quickstart.
Info
This quickstart gets you trading quickly with the beginner-friendly StepGrid strategy. For advanced configurations and strategies, see the rest of the documentation.
Welcome! This guide focuses on setting up Gunbot with the StepGrid strategy, chosen for its beginner-friendly setup. The core steps are also applicable to other strategies. If you want the broader product flow first, read how Gunbot works.
Use this Gunbot guide when you want the shortest path from installation to a first controlled test. Keep the first run small, so exchange access, strategy behavior, and monitoring are easy to verify.
Installation & Startup
Downloading Gunbot
Download the latest stable version to get Gunbot for your OS. This page also provides future updates.
Installation Steps
- Download: Choose the appropriate Gunbot zip file for your operating system from the official site.
- Extract: Unzip the contents into a designated folder.
- Firewall Configuration (Optional): If you plan to access the interface from the internet, configure your firewall to allow TCP traffic on port 3001. If you're using Gunbot on your local network, you likely won't need firewall changes.
- Launch and Access: Run the Gunbot executable, then open your browser and navigate to
http://localhost:3001.
For a customized installation experience, refer to the guides specific to your OS:
- Windows Installation Guide
- MacOS Installation Guide
- Linux Installation Guide
- ArmV7l Installation Guide
License Setup
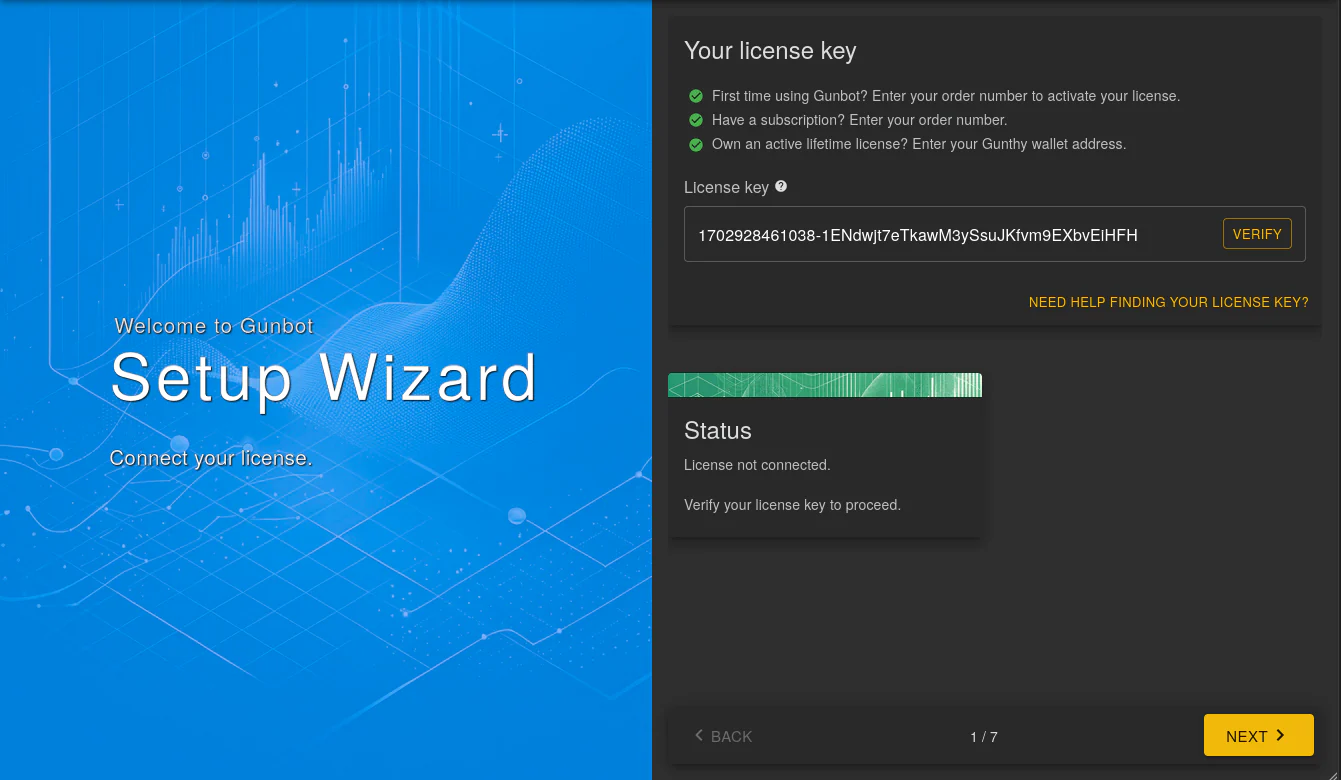
Getting your license up and running involves a few steps:
-
License Key Entry: Enter your license key to verify it.
-
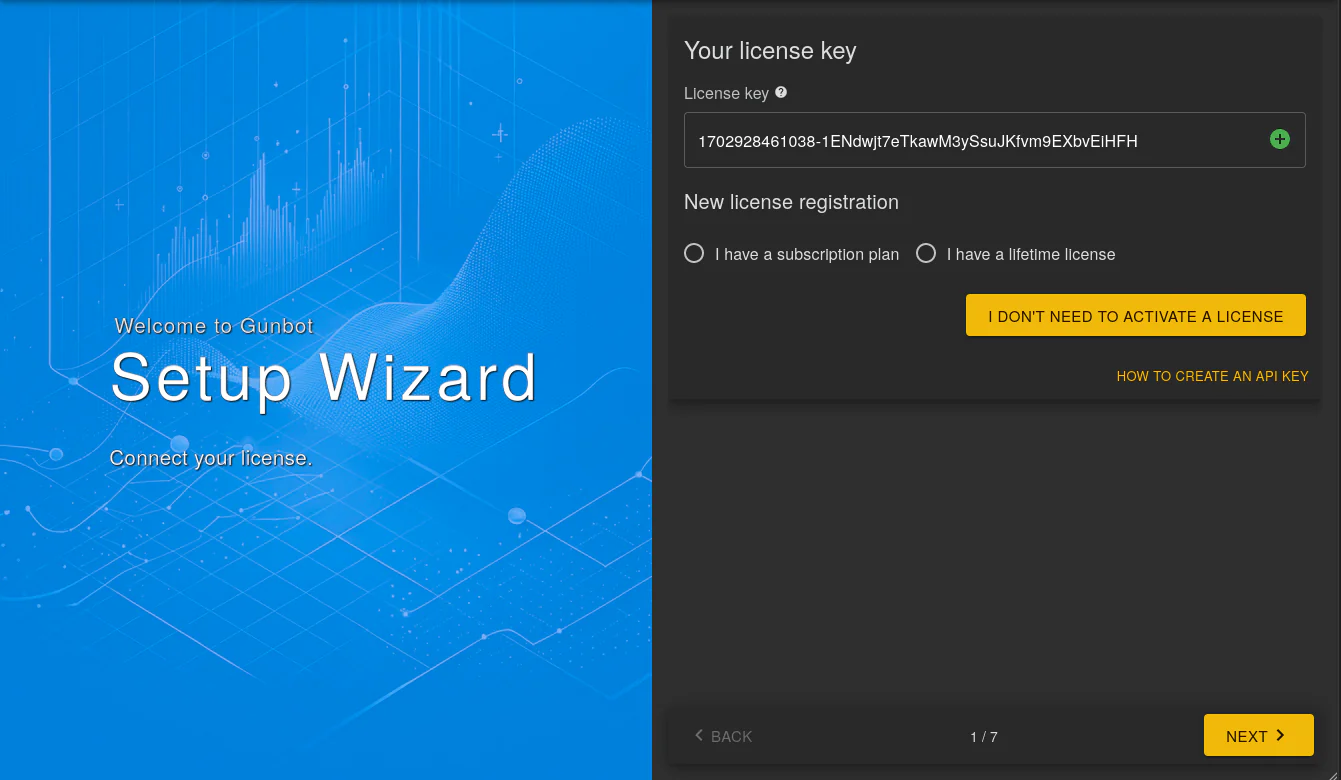
License Type Selection: Select the license type that matches your existing license. For an existing lifetime license, choose the lifetime option; your entitled features remain available.
-
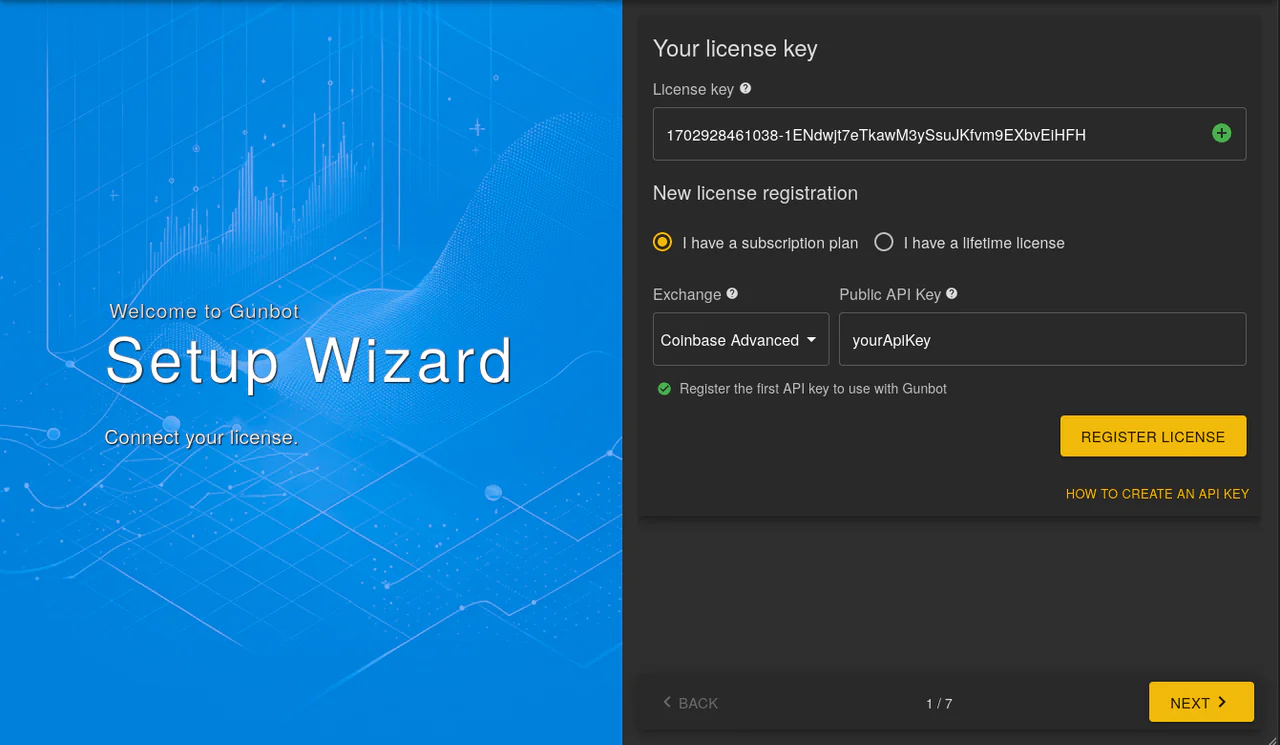
API Key Registration: Register the first API key for trading. Keep your secret key secure. For API key creation, see creating API keys.
-
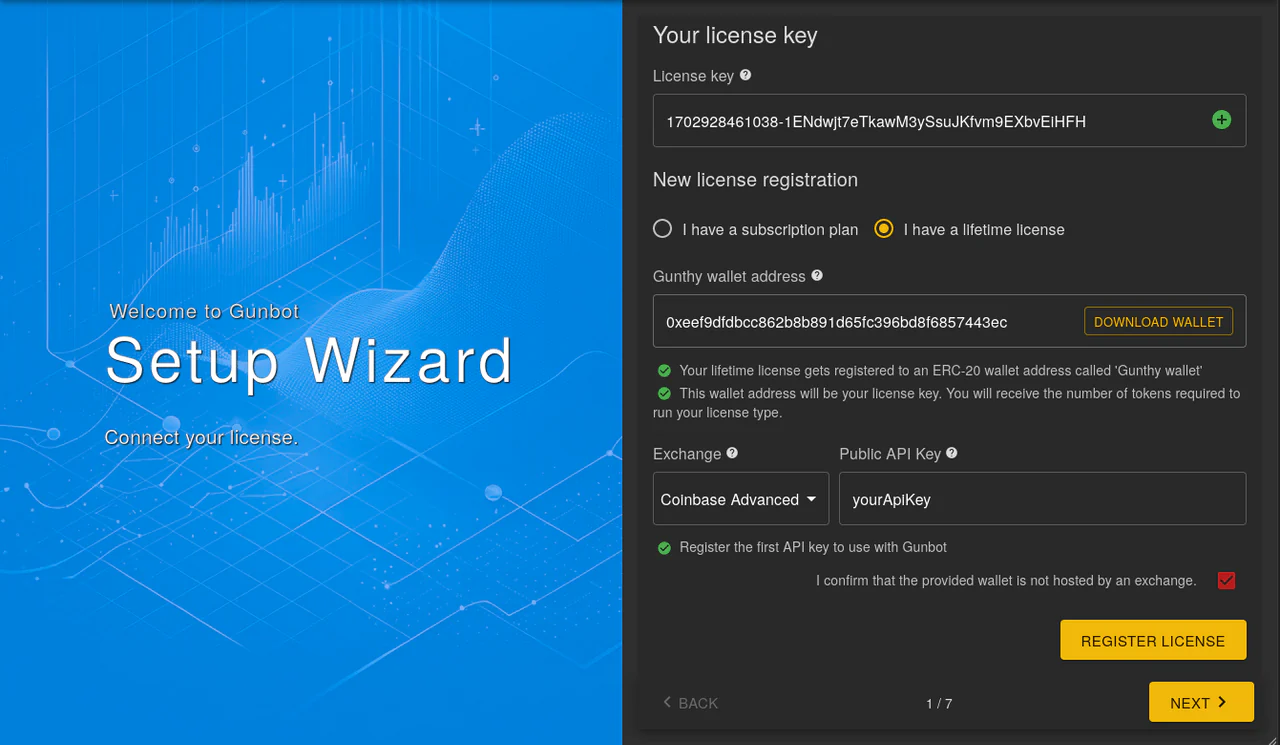
ERC-20 Wallet Registration (Lifetime License Only): If you have a lifetime license, link an ERC-20 wallet to receive Gunthy tokens. The easiest way is to use the "generate" option during setup. You'll get the wallet as a text file.
-
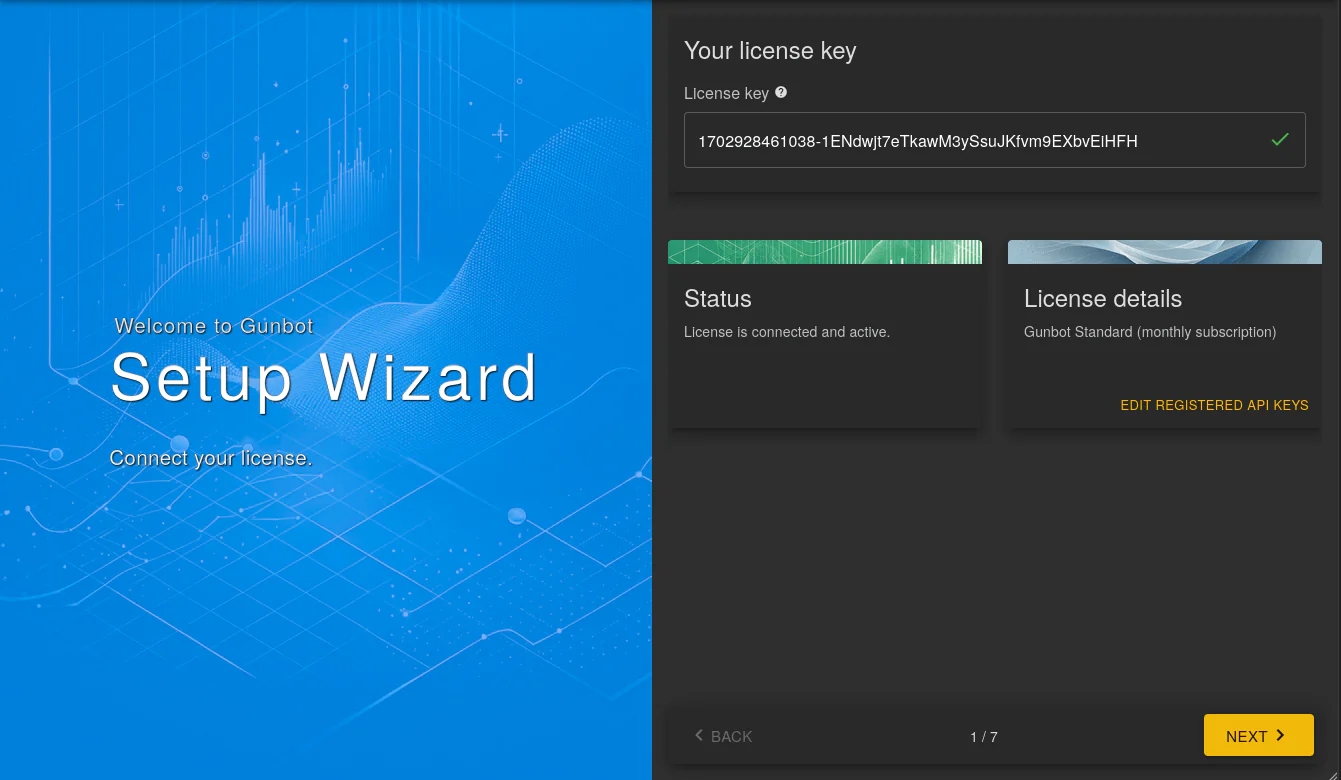
Finalize by clicking the "register license" button. You'll know it's done when you see the following message:
Selecting Market Type
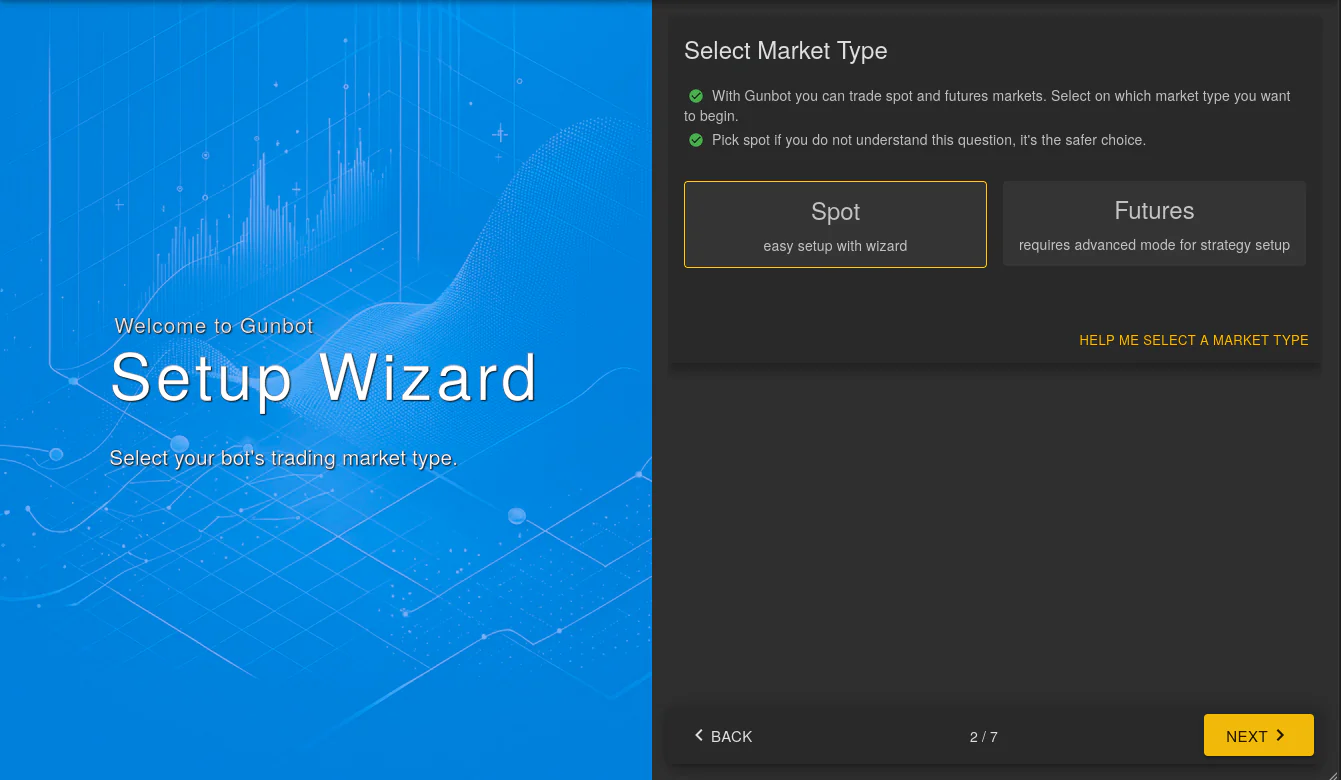
For this guide, select "spot" as your market type in the wizard. This can be changed at any time.
Connecting to an Exchange
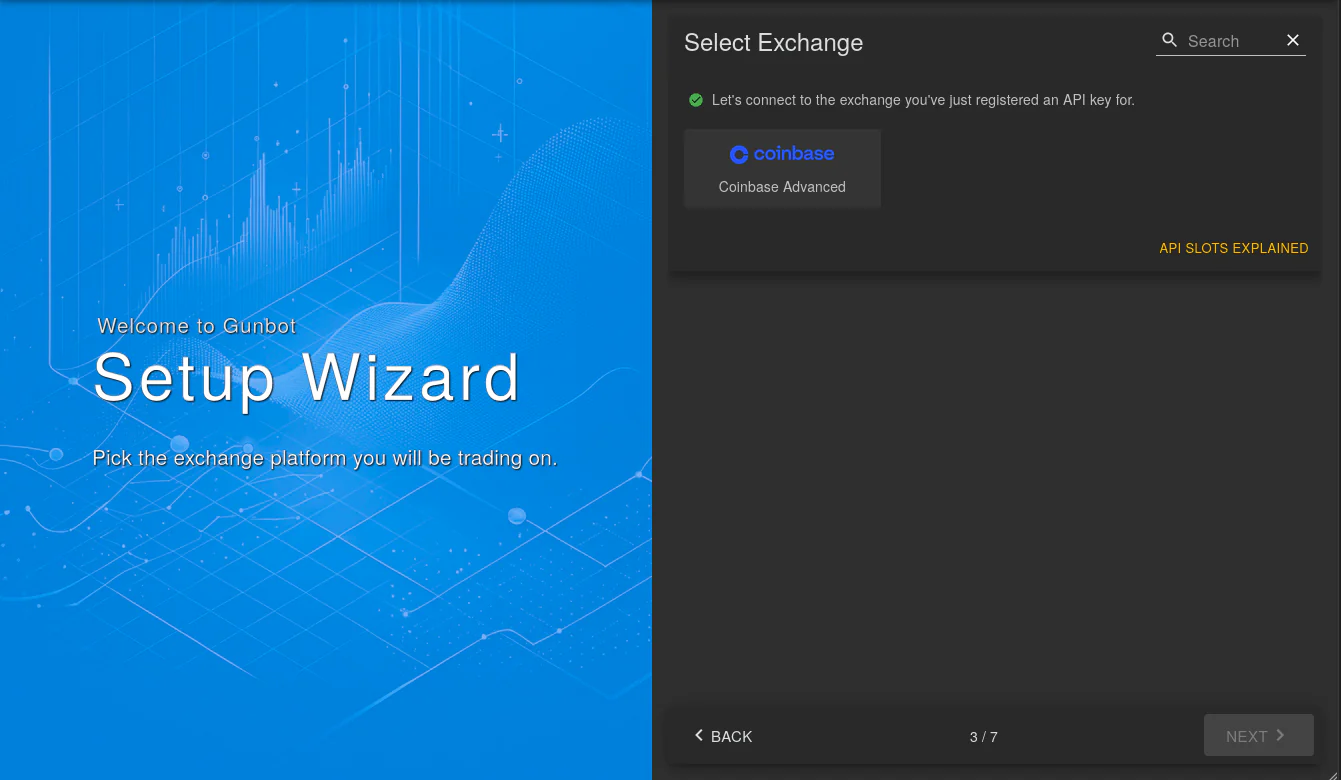
Connect the exchange where you've registered your API key:
-
Select Your Exchange: Select the exchange you're using.
-
Enter API Credentials: Input your API secret and other required credentials.
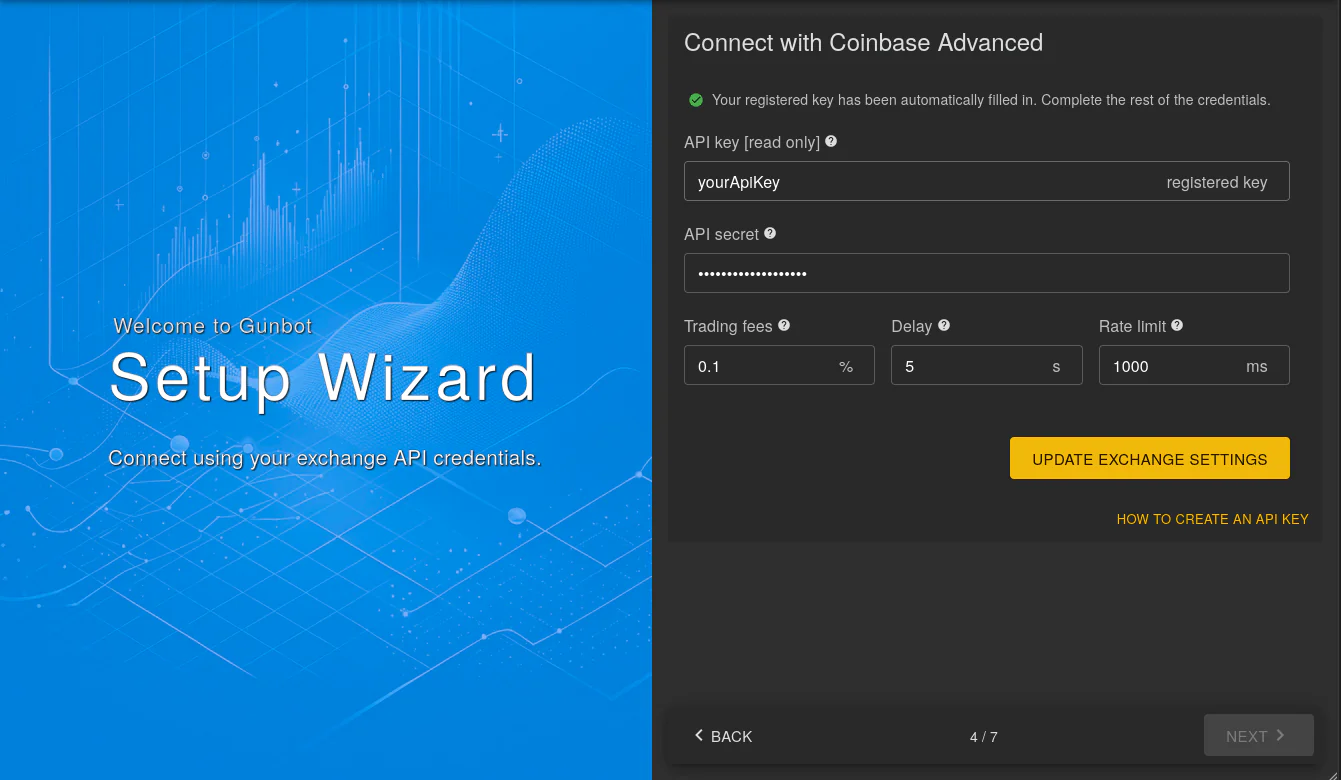
Click "update exchange settings" to save your input.
Your exchange is now connected, and you're ready to use Gunbot with the StepGrid strategy.
Configure a Trading Pair
Setting up a trading pair in Gunbot is straightforward. This section walks you through the steps.
Adding a Trading Pair
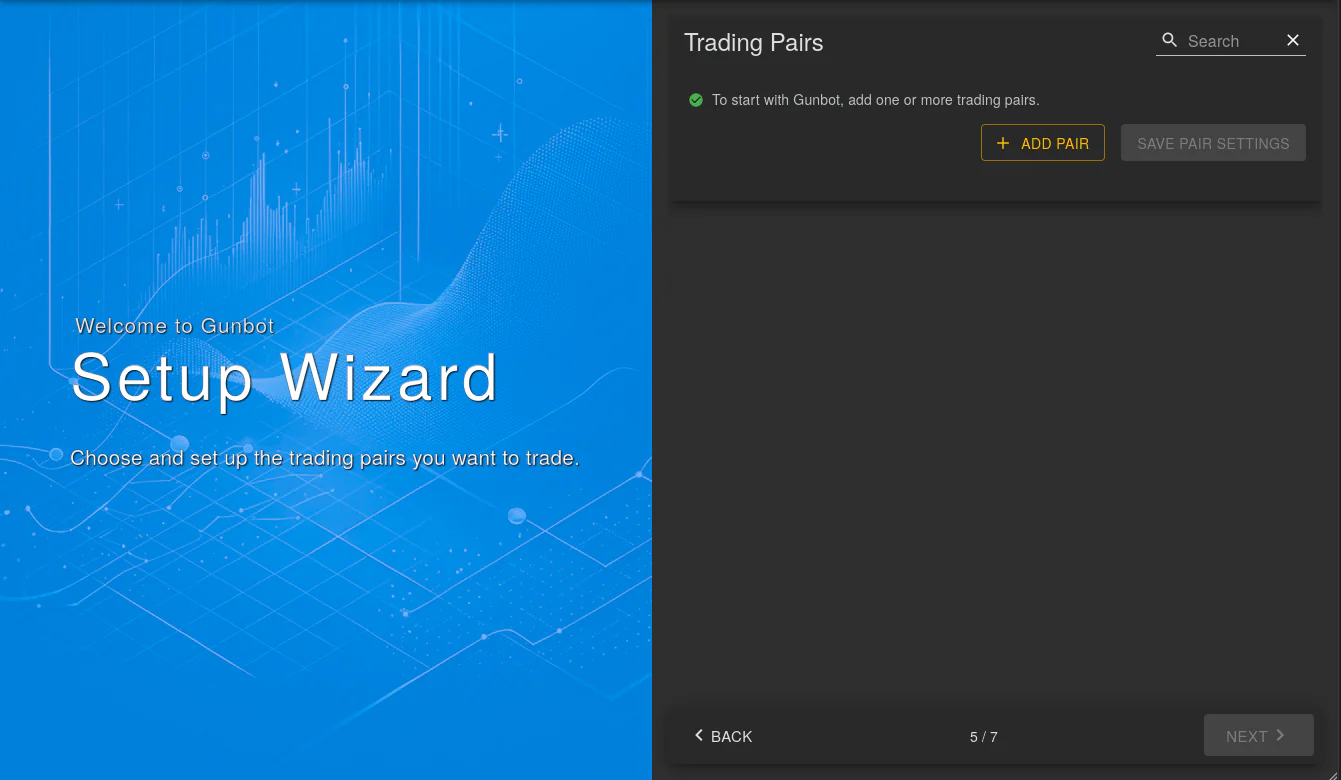
Select the "add pair" button in the Gunbot interface.
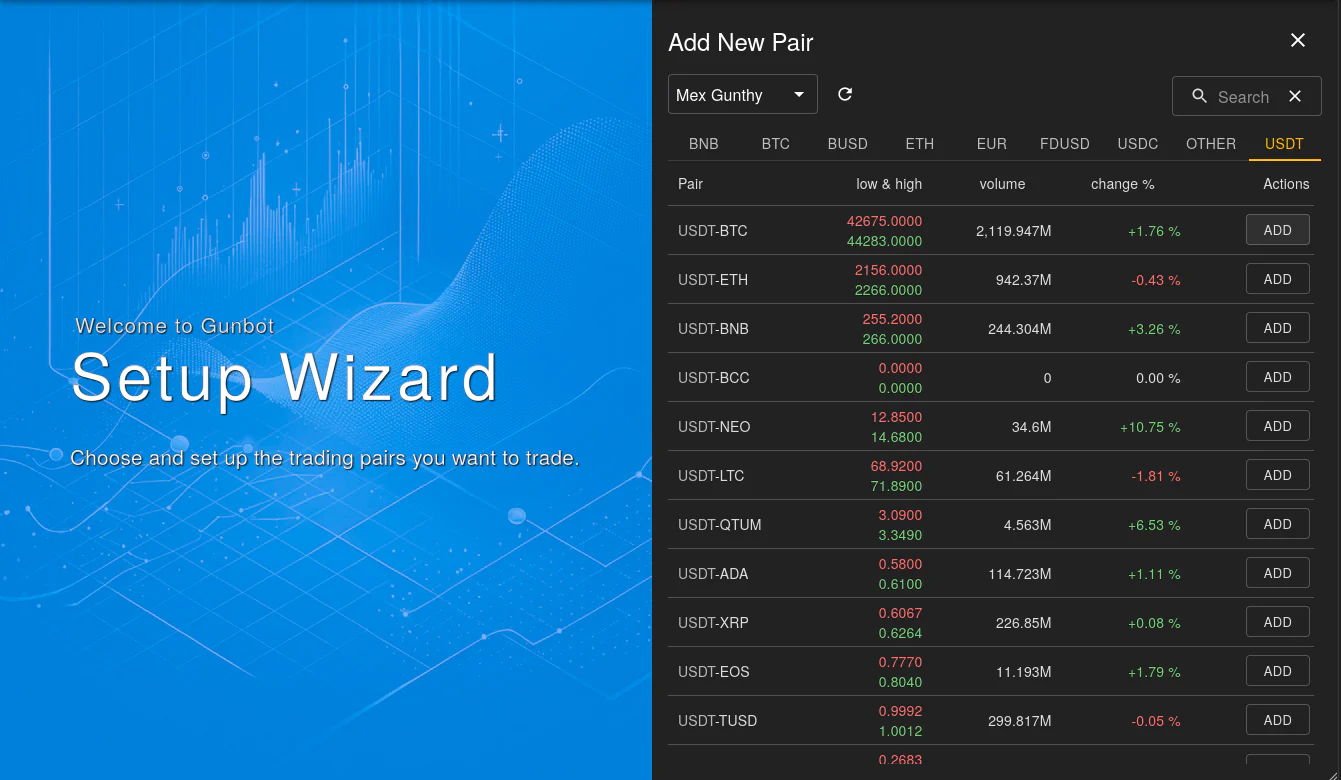
Choose your preferred trading pair from the list.
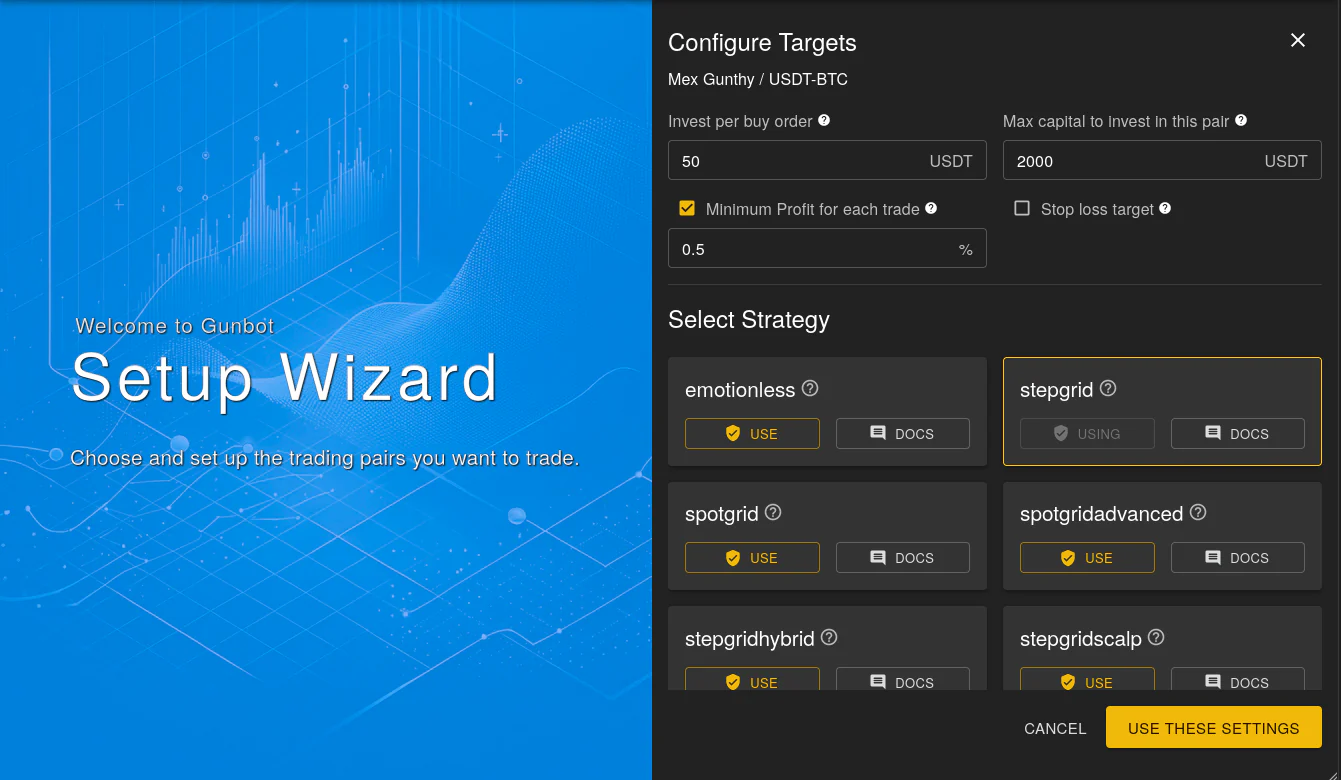
Configuring USDT-BTC as an Example
Example: set up a USDT-BTC pair with 2500 USDT capital distributed over 50 buy orders:
- Opt for the "stepgrid" strategy for both buying and selling.
- Set the trading limit to 50 (2500 / 50 = 50 USDT per trade).
- Restrict the max investment to 2500 USDT to prevent the bot from exceeding your designated limit.
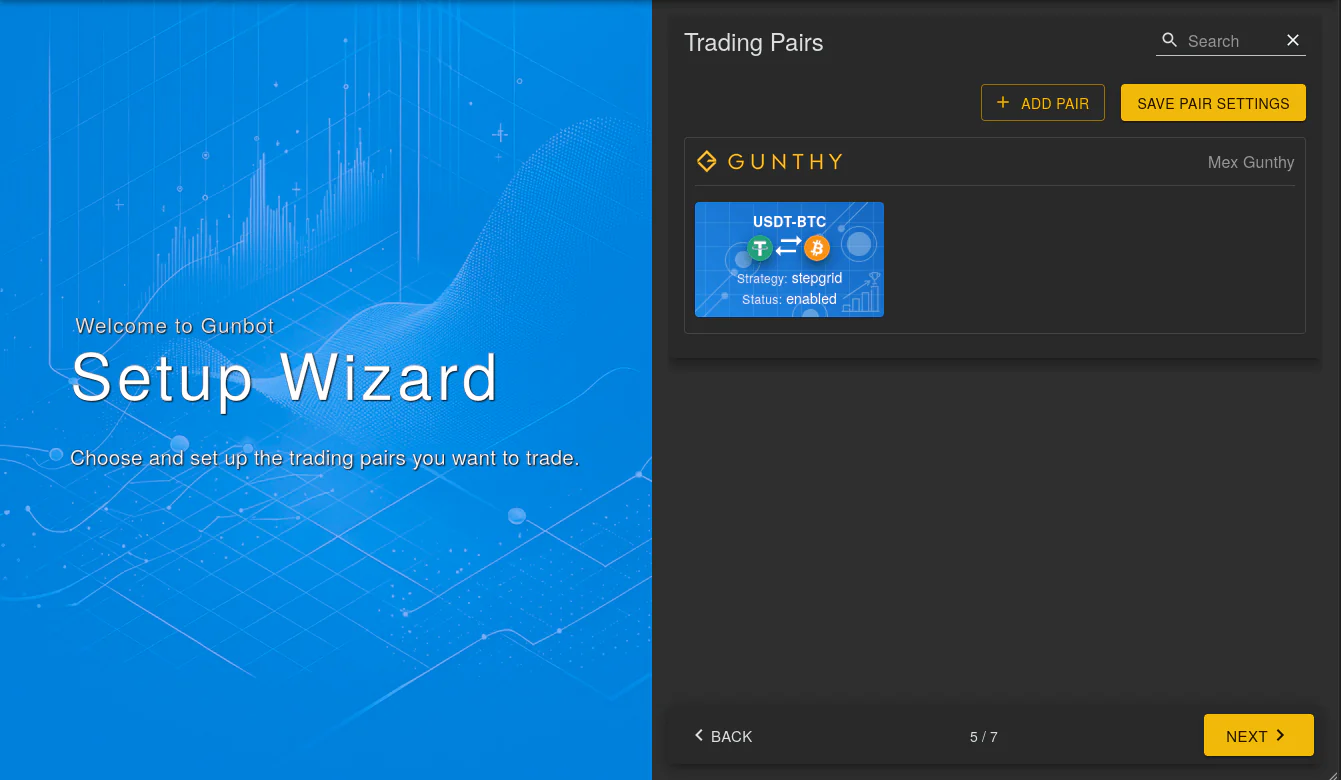
After setting these parameters, a pair overview will confirm the completion of your configuration.
Tips for Starting Funds
For new trades like USDT-BTC, start with no coin balance (ETH). This lets the strategy start buying and track the break-even price from the beginning.
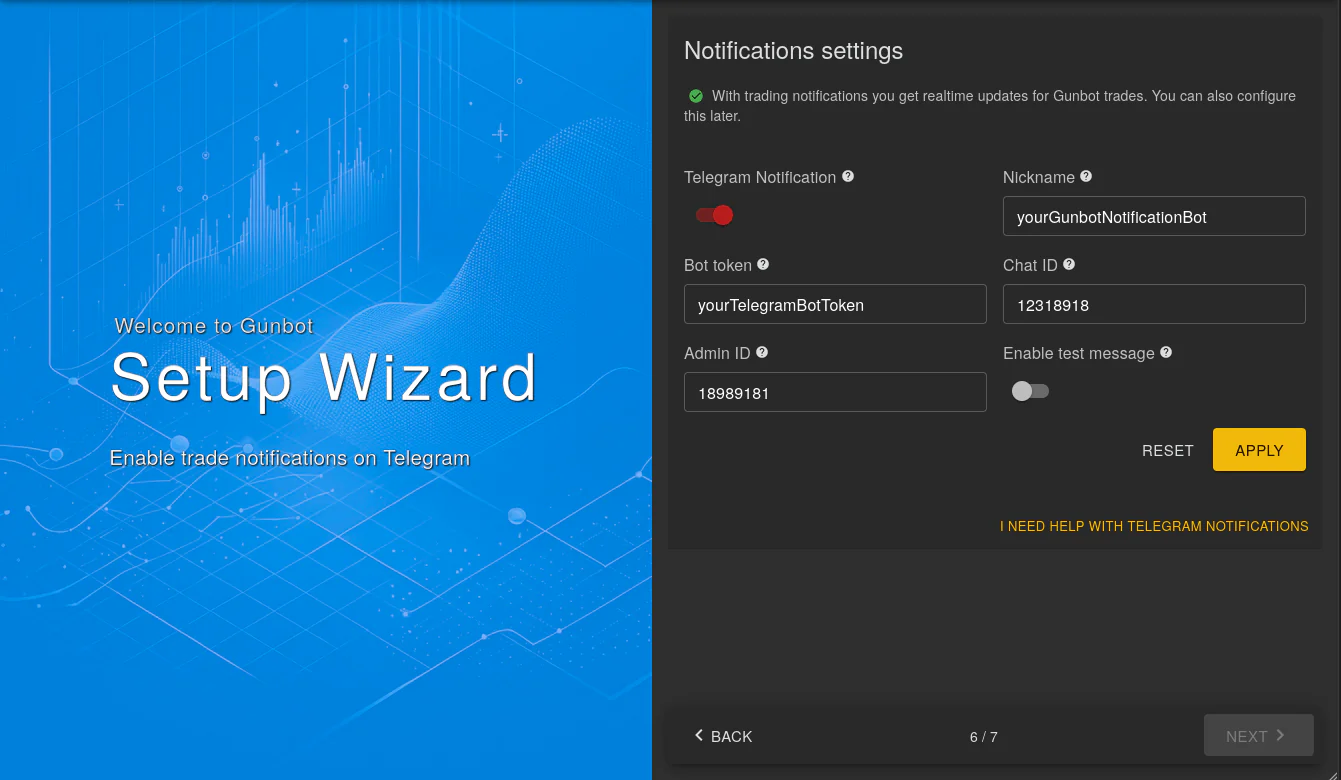
Optional: Telegram Notifications
You can activate Telegram notifications for immediate updates on your trades. This is optional and can be done later.
Interface Selection
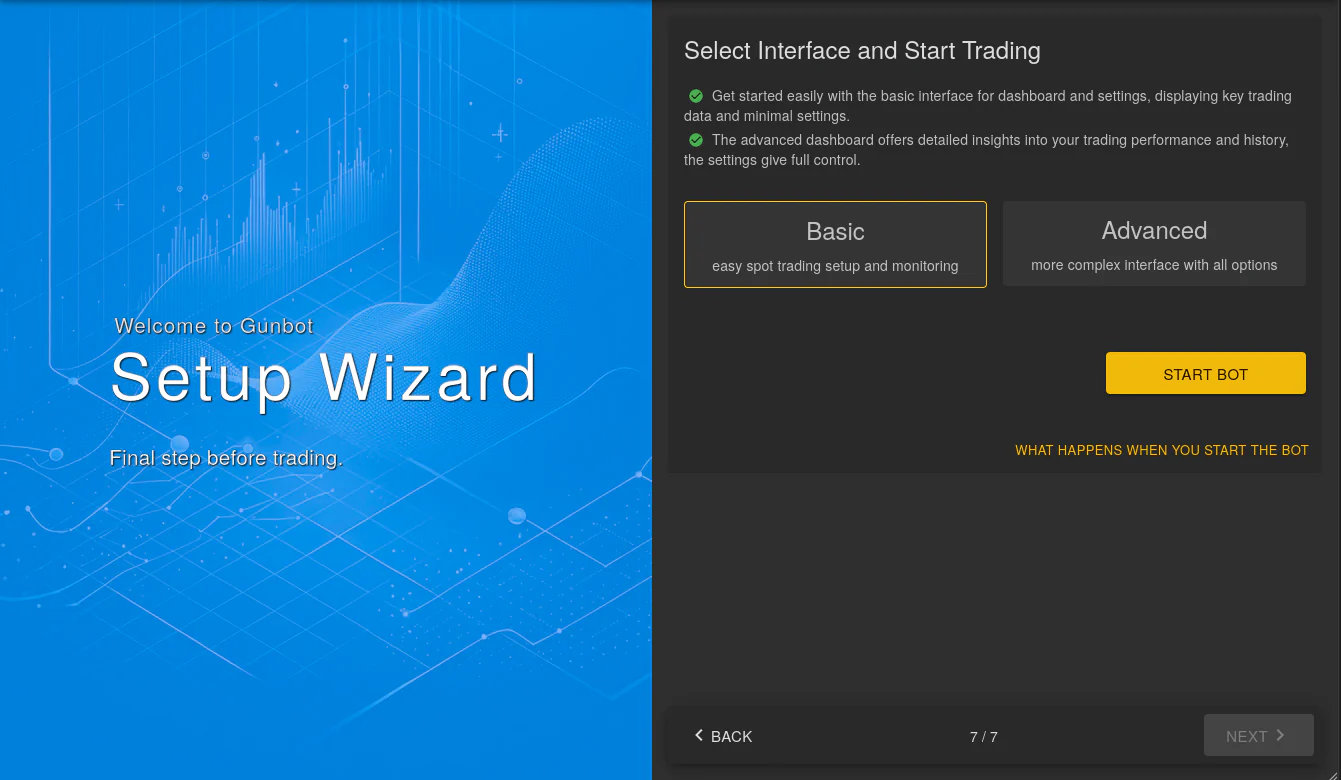
Gunbot offers two interface modes:
- Basic Interface: Simple and straightforward, recommended for new users.
- Advanced Interface: Detailed settings and dashboard, suited for experienced traders.
Choose the mode that fits your comfort level with the platform.
Starting Trading
Once your pair is set, click the "start bot" button to commence trading.
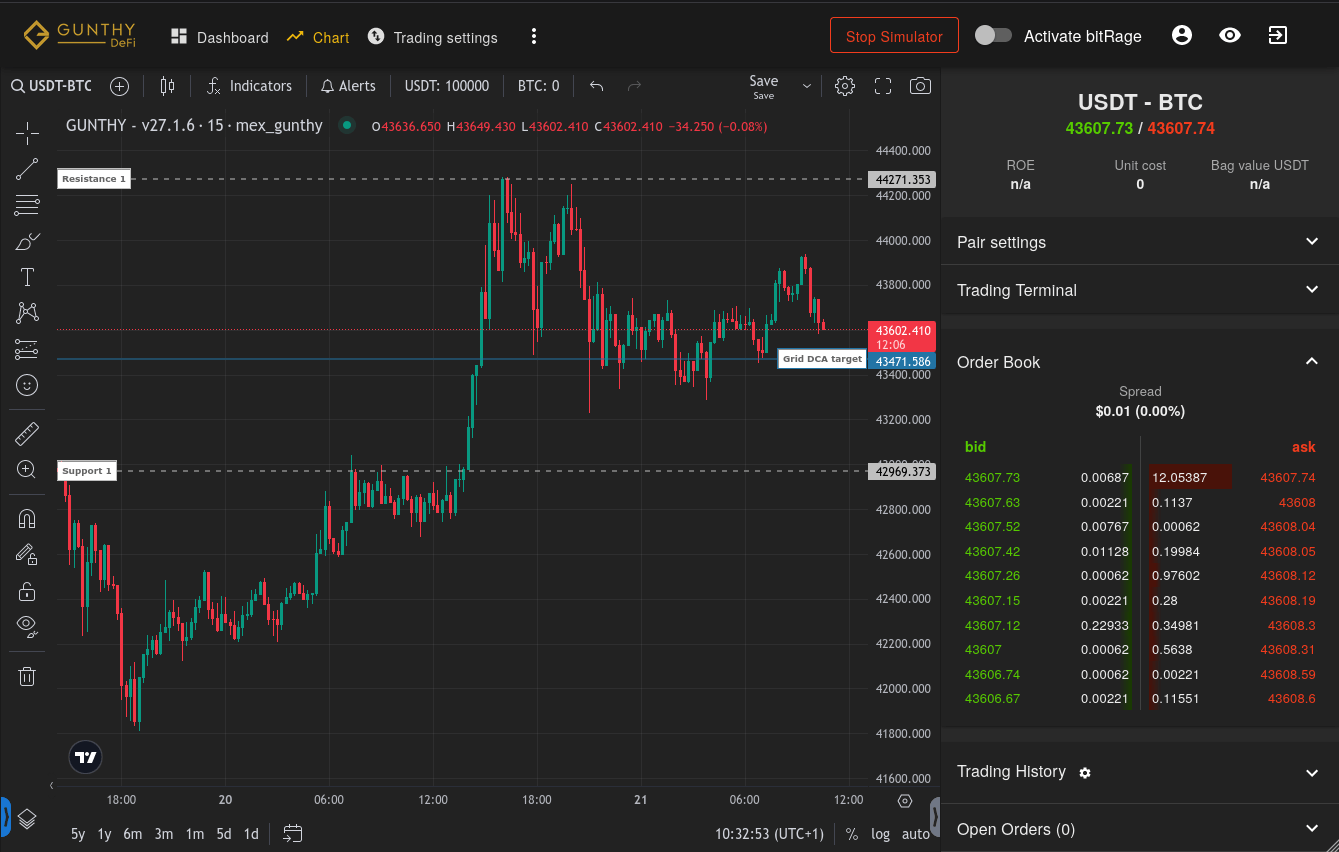
Trade Monitoring
Monitor your trades in real time through the Gunbot interface. The interface shows break-even points and target goals.
Interpreting Trade Results
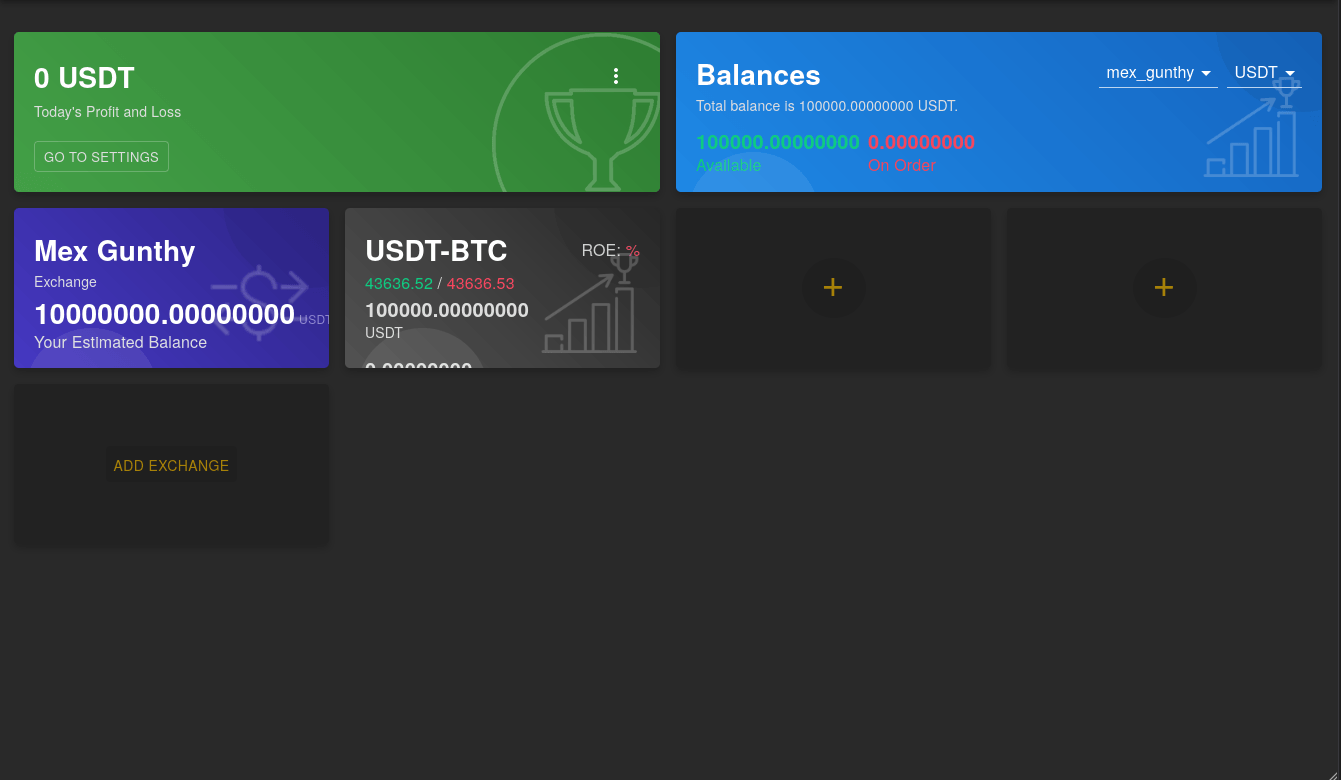
The dashboard provides a snapshot of your trade performance, focusing on realized profits, which include gains and losses at the time of selling the asset.
Adjusting Bot Settings
Adjust your strategy settings at any time. The bot will adapt to these changes without interrupting its current operations.
You're now ready to trade with your configured pair in Gunbot.