Creating and Running AutoConfig Jobs
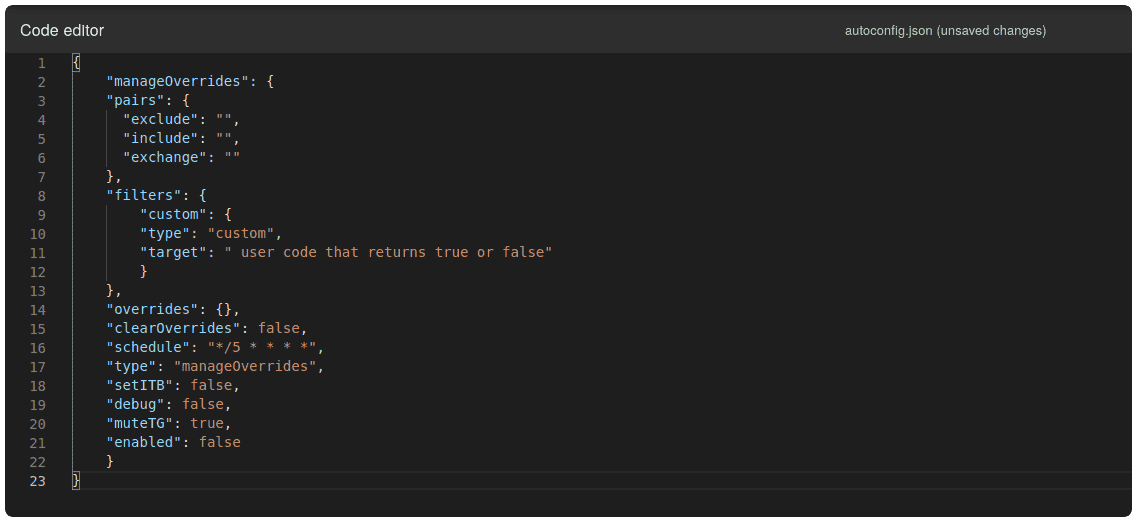
In Gunbot's AutoConfig, all job configurations are stored in a single JSON file named autoconfig.json. This file can hold configurations for multiple jobs. Whenever Gunbot restarts or the autoconfig.json file is modified, all jobs defined within it are automatically scheduled. Any previously scheduled jobs are removed to avoid conflicts.
Running Jobs
Running AutoConfig jobs is straightforward and requires two conditions to be met:
- Enabled jobs: Each job has an option to enable or disable it.
- AutoConfig itself enabled: This can be done through the browser interface on the AutoConfig page.
Creating Simple Jobs Without Writing Code
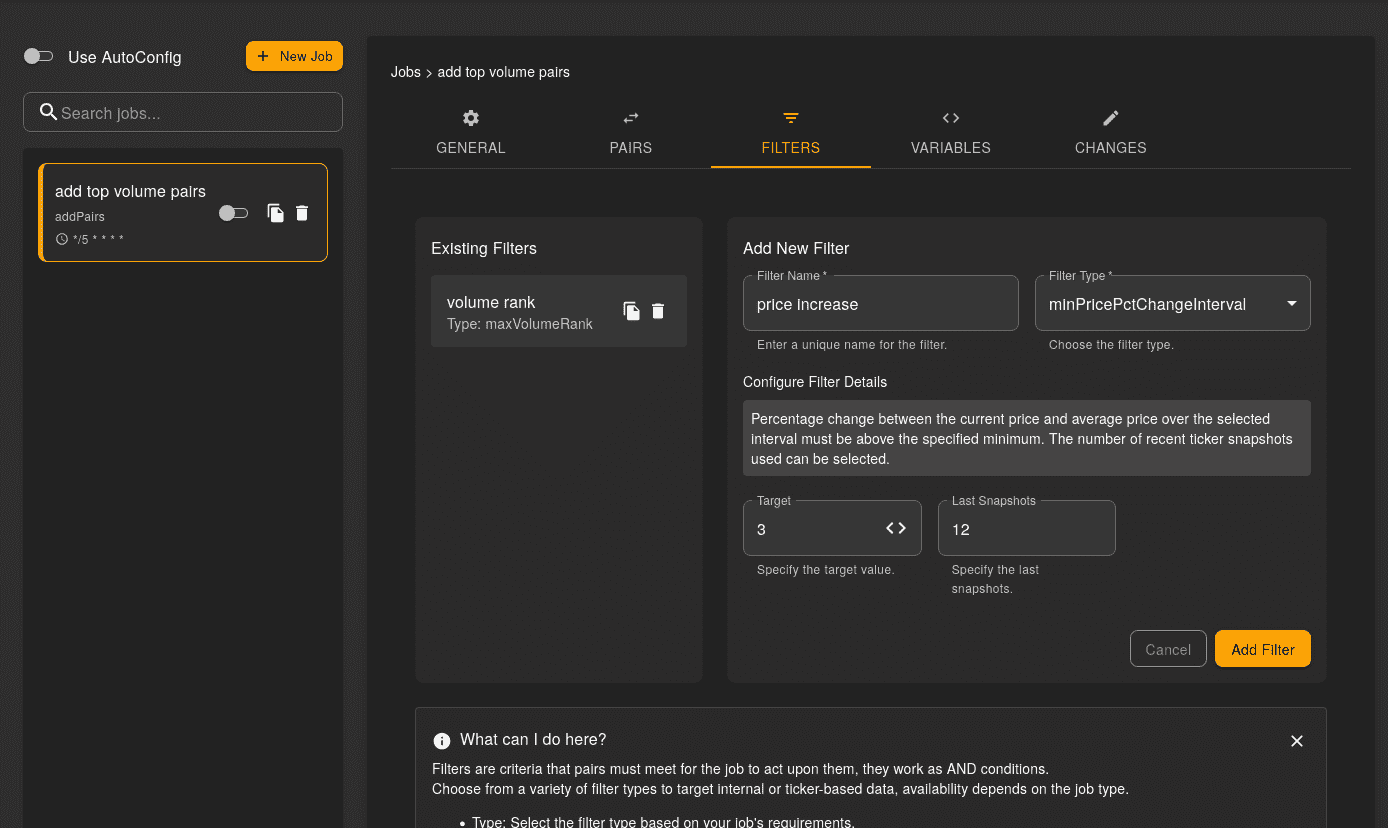
To create a simple AutoConfig job, such as modifying a single strategy parameter using pre-built filter options, you can use the editor in the browser interface. The editor will guide you through each necessary step. However, before beginning the job configuration process, ensure that you have familiarized yourself with filters and job types by reading their respective documentation.
Familiarity with [Job Types/docs/autoconfig/ac-job-types) and Filter Types is crucial before creating jobs, as these define what a job can do and how it selects pairs or conditions.

Creating More Complex Jobs
To create AutoConfig jobs with greater complexity, you can use the built-in Gunbot code editor. This tool is ideal for users comfortable with JSON, or for those with ambitious plans.
The code editor offers auto-suggest options for valid templates related to all job types and filters. However, you can use any text editor you prefer, as the job format is simply JSON.

General Information About Jobs
When a job is processed, changes to the config.js file are made only for pairs that pass all filters in a filter set.
You can include one or many jobs in the autoconfig.json file, each with its own schedule. A job applies to a single exchange and can have one or multiple filters. Within each job, you can specify filters to determine which trading pairs it applies to.
If a job successfully completes, the changes are written to config.js, and Gunbot starts using the new settings. Most configuration changes, such as pair override changes, are applied without restarting the bot. If a job does not cause any changes (for example, because it attempts to place already existing overrides), it will not cause a Gunbot restart.
You can set schedules per job in a format similar to how cron jobs are set. If you are not familiar with the format, you can use a website like crontab-generator.org to generate it.
All AutoConfig configuration options are available in the browser interface. We suggest creating a configuration example using the interface, even if you prefer manually editing the autoconfig.json file. This way, you can ensure all necessary parameters are included in your job.
To avoid unexpected configuration changes when using a very fast schedule (e.g., jobs that update your bot configuration every few seconds), it is important to refrain from making manual setting changes using the browser while AutoConfig jobs are running. Make this a habit to maintain consistency in your bot's configuration.