How Gunbot Works
Follow these five steps to deploy Gunbot as your personal crypto trading assistant.
Step 1
Launch Your Bot in Minutes
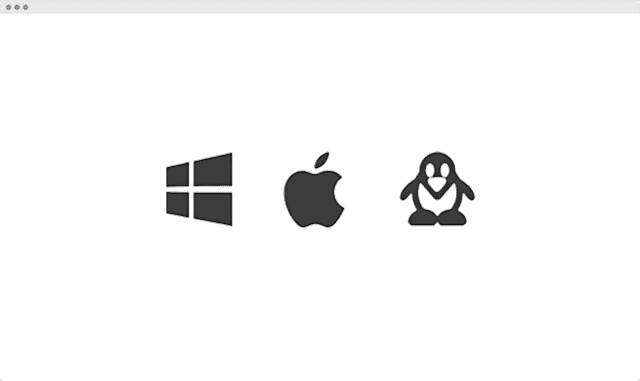
Begin by downloading Gunbot to your desktop or VPS. You can also use the quickstart guide for first-time setup. The core software runs natively on Windows, Linux, and macOS, so you are not forced into a cloud crypto trading bot setup.
Extract the archive and run the executable immediately; no complex installers required. Access your dashboard via the local browser interface.
Extract the archive and run the executable immediately; no complex installers required. Access your dashboard via the local browser interface.
Step 2
Connect Your Exchange API
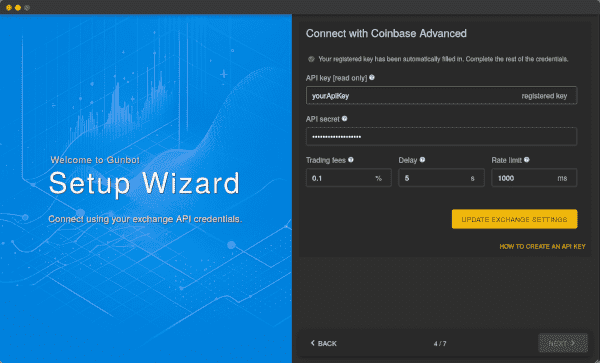
Link Gunbot to your exchange account by entering your API key and secret. Gunbot supports a wide range of venues, and you can review all supported exchanges before connecting.
Your API credentials remain stored locally on your machine. Gunbot only requires permissions to read market data and execute trades, withdrawal access is never needed.
Your API credentials remain stored locally on your machine. Gunbot only requires permissions to read market data and execute trades, withdrawal access is never needed.
Step 3
Select Trading Pairs
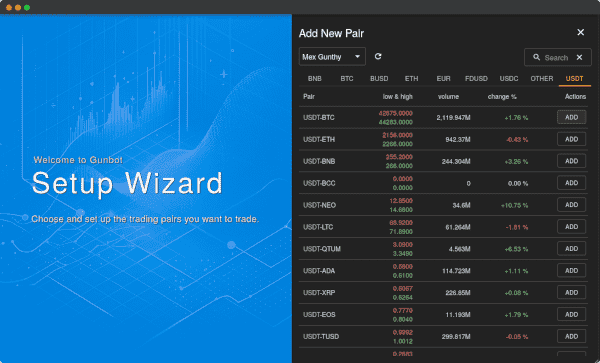
Define which assets Gunbot should trade and assign a strategy to each pair. You can manually select tickers or use filter rules like "Top 10 volume" to automate pair selection.
Gunbot supports all trading pairs listed on your connected exchange, from major caps like BTC-ETH to lower-cap altcoins.
Step 4
Configure Your Strategy
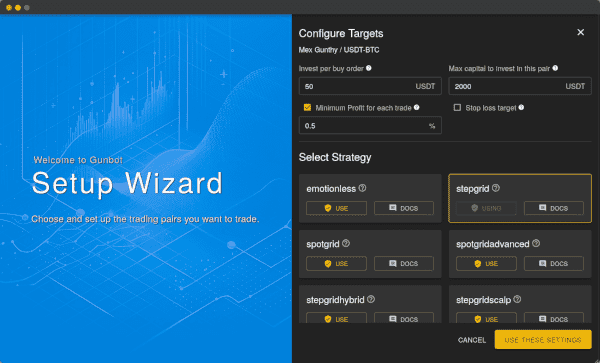
Customize your trading parameters to fit your goals. Set precise trading limits to control Gunbot's capital allocation per trade.
Utilize established methods like Grid trading, StepGain, or technical indicators like Bollinger Bands. You can also configure Gunbot to manage existing holdings using specific sell-side strategies.
If you want broader feature access or more exchange slots, compare Gunbot plans and use the upgrade options when scaling your setup.
See different configuration examples.
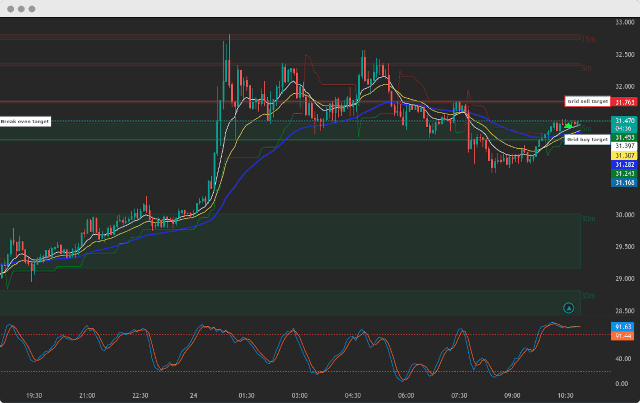
Step 5
Run and Monitor Your Strategies
Let Gunbot execute your trading rules automatically while you focus on analysis. The built-in dashboard tracks open positions and strategy performance in real-time.
Gunbot handles the execution, allowing you to trade 24/7 without constant screen monitoring. If you trade on-chain, you can follow the same workflow for DeFi trading automation. Our support team is available if you need help with configuration.
Gunbot handles the execution, allowing you to trade 24/7 without constant screen monitoring. If you trade on-chain, you can follow the same workflow for DeFi trading automation. Our support team is available if you need help with configuration.
Developers: JSON and JavaScript Control
Need more granular control? Configure Gunbot directly via a JSON config file or write custom logic using JavaScript. Changes applied in code take effect immediately. See examples of how to configure Gunbot programmatically.