Display Custom Metrics in Gunbot with AutoConfig Hack (UPDATED, NO LONGER A HACK)
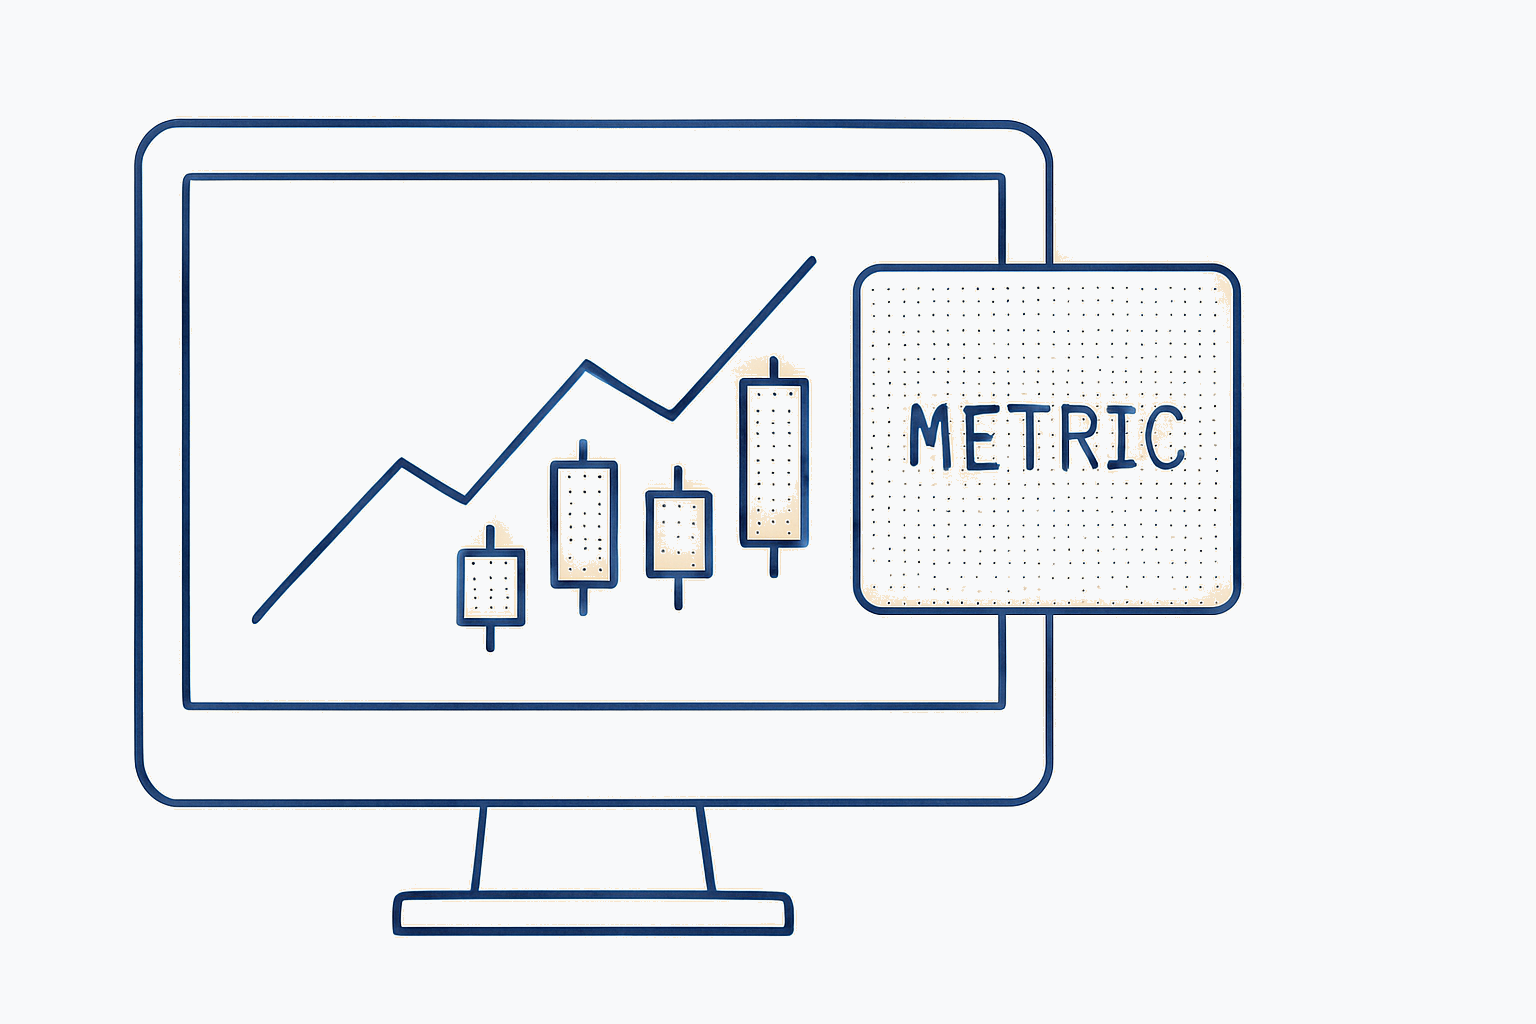
This guide shows how to use AutoConfig to display custom metrics next to your trading chart. Although displaying custom metrics is usually reserved for custom strategies, we will use a simple AutoConfig setup to place custom metrics right next to your trading chart.
Update
The feedback on this article has been overwhelmingly positive, and we've taken note of the technical challenges some of you faced with setting custom metrics for strategies like stepgridhybrid.
Thanks to your input, starting from version 28.5.6_beta, we are officially supporting this feature in AutoConfig, allowing for the customization of metrics in the strategy stats sidebar.
Getting Custom Metrics with AutoConfig 🔓
AutoConfig is primarily used for configuration automation, but we'll demonstrate how to use it for improving the Gunbot frontend too. By creating an AutoConfig job that alters nothing in the Gunbot config, you can have it write data to the internal memory of the bot and display custom metrics in the right sidebar, next to the chart. These metrics can include a title, value, and tooltip text.
Note: This article assumes you are familiar with your bot and basic steps like enabling AutoConfig itself.
Time Since Last Buy & Sell: A Complex Example ⏰
Let's examine an example of how to display the time since last buy and sell for the USDT-BTC pair. This complex example iterates over order data to calculate the final values. Keep in mind that the JavaScript code must be on a single line, within double quotes, and have a leading space to be evaluated.
autoconfig.json example
{
    "customMetrics": {
        "pairs": {
            "exclude": "",
            "include": "USDT-BTC",
            "exchange": "binance"
        },
        "filters": {
            "alwaysPasses": {
                "type": "custom",
                "target": " true"
            }
        },
        "overrides": {},
        "setPairVariable": {
            "setMetrics": " (function setMetrics(data) {const orders = data.pair.orders; const lastBuyTime = orders.filter(order => order.type === 'buy').map(order => Date.now() - order.time).sort((a, b) => b - a)[0];const timeSinceLastBuy = new Date(lastBuyTime).toISOString().substr(11, 8);const lastSellTime = orders.filter(order => order.type === 'sell').map(order => Date.now() - order.time).sort((a, b) => b - a)[0];const timeSinceLastSell = new Date(lastSellTime).toISOString().substr(11, 8);data.pair.sidebarExtras = [{label: 'Time since last sell (hh:mm:ss)', value: timeSinceLastSell, tooltip: 'lolol'}, {label: 'Time since last buy (hh:mm:ss)', value: timeSinceLastBuy, tooltip: 'lolol'}]; return true;})(this)"
        },
        "clearOverrides": false,
        "schedule": "*/15 * * * * *",
        "type": "manageOverrides",
        "debug": true,
        "enabled": true
    }
}
Pairs Section: This section specifies the target pair for the job. In this case, it is set to "USDT-BTC" on the "binance" exchange. Alternatively you can set the value for include to -to match all pairs on an exchange, or USDT- to match all USDT pairs.
Filters Section: The "alwaysPasses" filter is defined as a custom filter that will always evaluate to true. This lets the job continue to the next step, regardless of the input.
Overrides Section: This section is empty in the provided configuration. It can be used to override certain settings or parameters on the pair level if needed.
setPairVariable Section: This section contains a JavaScript code snippet wrapped in a self-invoking function. It sets the custom metrics for the pair. The code extracts information from the "data" object, specifically the "orders" property of the pair. It calculates the time since the last buy and sell orders for the pair and formats them as "hh:mm:ss" (hours:minutes:seconds). The results are then assigned to the "sidebarExtras" property of the pair, which includes an array of objects with labels, values, and tooltips. Finally, it returns true to indicate that the execution was successful.
The result
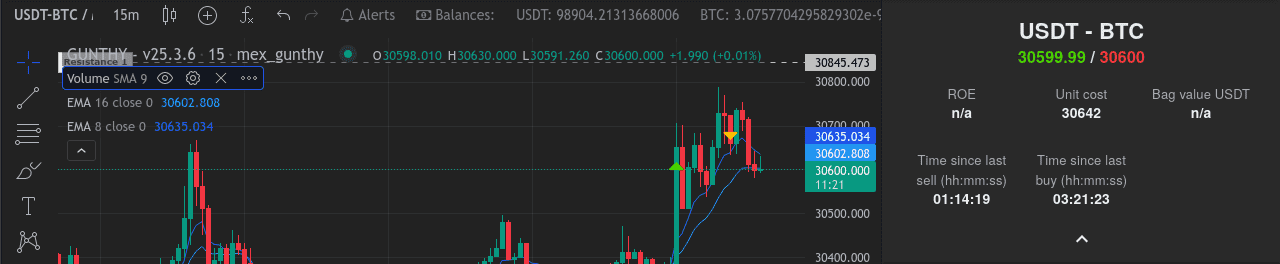 Your new metrics show on the sidebar next to the chart.
Tip: don't bother manually typing JS code that is minified to fit on a single line. Just search for an online tool to minify your code, so you can write it without formatting concerns. ChatGPT is also good at minifying code to match the formatting requirements to place it in the
autoconfig.jsonfile.
Simpler Job Examples for Custom Metrics 🎯
Let's look at some simpler job examples that display the last stochRSI value (data.pair.STOCHRSI), ATR value (data.pair.atr), with an empty element between the other metrics for formatting purposes.
autoconfig.json example
{
    "customMetrics": {
        "pairs": {
            "exclude": "",
            "include": "USDT-BTC",
            "exchange": "binance"
        },
        "filters": {
            "alwaysPasses": {
                "type": "custom",
                "target": " true"
            }
        },
        "overrides": {},
        "setPairVariable": {
          "setMetrics": " (function setMetrics(data) { data.pair.sidebarExtras = [{label: 'StochRSI', value: data.pair.STOCHRSI, tooltip: 'Stochastic RSI value', persist: true}, {label: '', value: '', tooltip: '', persist: true}, {label: 'ATR', value: data.pair.atr, tooltip: 'Average True Range', persist: true}]; return true; })(this)"
        },
        "clearOverrides": false,
        "schedule": "*/15 * * * * *",
        "type": "manageOverrides",
        "debug": true,
        "enabled": true
    }
}
This would result in the following custom metrics display:
- StochRSI
- Empty Space
- ATR
Breaking Down the Metrics Calculation and Setting 🔍
The key to understanding and customizing your metrics lies in dissecting the parts that calculate and set the values. This will be different for every metric that you want to implement.
In our complex example,
- We begin by filtering orders and calculating the time difference between now and each order's timestamp.
- We sort the resulting array in descending order based on the calculated time difference.
- The first element of the sorted array represents the most recent order, and we extract its time using
new Date(lastBuyTime).toISOString().substr(11, 8).
Tip: you can use JavaScript to modify your data. For example add
.toFixed(2)to change a floating point number with many decimal points to a string with just two decimals.
By understanding how metrics are calculated and set, you can customize your dashboard with informative data points matched to your trading needs.